The Honeywell 6000 thermostat is a programmable, energy-efficient solution for home climate control, offering advanced features like smart scheduling and system customization.
Overview of Honeywell 6000 Series Thermostats
The Honeywell 6000 series thermostats are programmable climate control devices designed for energy efficiency and user convenience. They feature a sleek, intuitive interface and compatibility with various HVAC systems, including conventional and heat pump configurations. These thermostats are known for their programmable scheduling options, allowing users to customize temperature settings for different times of the day. The series includes models like the FocusPro TH6000, which offers advanced functionality while maintaining ease of use. Proper installation and configuration are essential to unlock their full potential, ensuring optimal performance and energy savings. They are a popular choice for homeowners seeking reliable and modern temperature control solutions.
Importance of Proper Installation
Proper installation of the Honeywell 6000 thermostat is crucial for ensuring optimal performance, energy efficiency, and system reliability. Incorrect installation can lead to operational issues, increased energy consumption, and potential damage to the HVAC system. It is essential to follow the manufacturer’s guidelines and installation manual to avoid common pitfalls, such as incorrect wiring or improper system configuration. A well-installed thermostat ensures precise temperature control, reduces energy waste, and prolongs the lifespan of the heating and cooling system. Additionally, proper installation is required to maintain warranty validity and ensure compliance with safety standards. Always refer to the installation manual for specific instructions tailored to your system.
Pre-Installation Requirements
Before installing the Honeywell 6000 thermostat, ensure compatibility with your HVAC system, gather necessary tools, and review the installation manual for specific prerequisites and safety guidelines.
Tools and Materials Needed
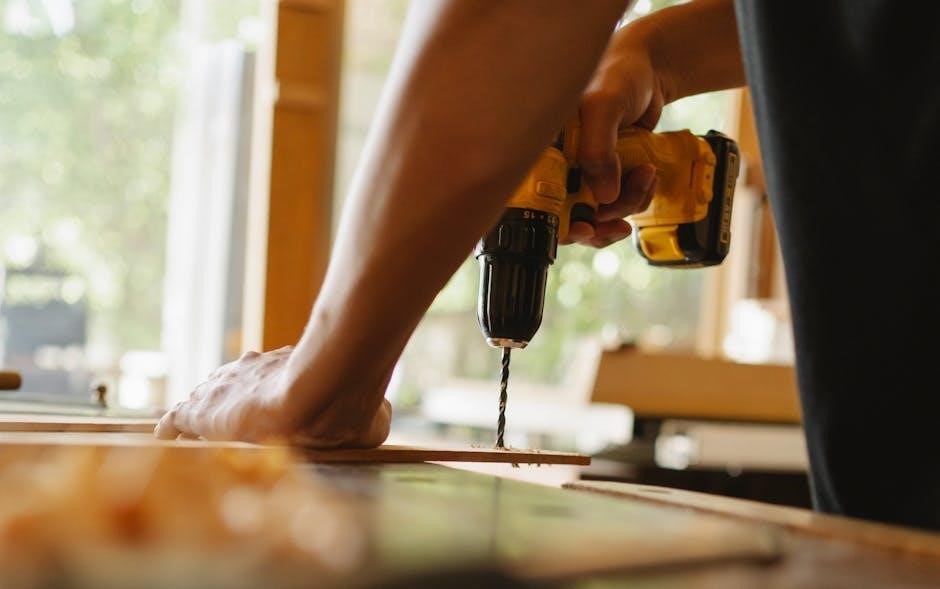
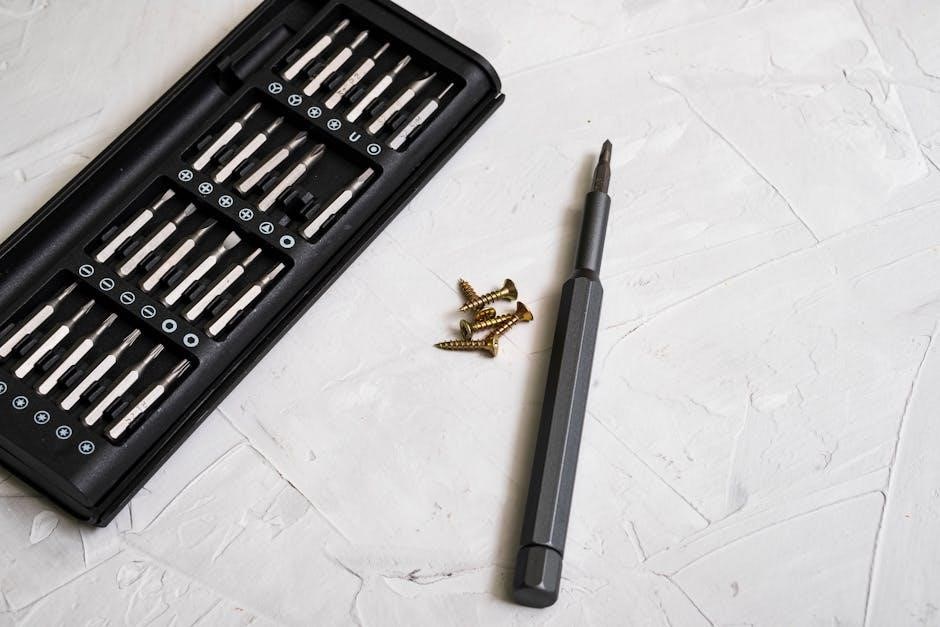
To install the Honeywell 6000 thermostat, you will need a screwdriver, pliers, a voltage tester, and wire strippers. Additional materials include mounting screws, wall anchors, and a level. Ensure the system is powered off before starting. A voltage tester is crucial for safety, verifying no power is present. Refer to the installation manual for specific tool recommendations tailored to your HVAC system. Organize all materials beforehand to streamline the process and avoid delays. Proper preparation ensures a safe and efficient installation experience. Always follow safety guidelines and manufacturer instructions to prevent damage or injury.
Understanding Your Heating/Cooling System
Before installing the Honeywell 6000 thermostat, it’s essential to understand your heating and cooling system. Most systems are either conventional (furnace/air conditioner) or heat pump-based. Dual-fuel systems combine a heat pump with a furnace for enhanced efficiency. Familiarize yourself with the system’s components, such as the furnace, condenser, and air handler. The thermostat regulates these components, so knowing how they interact is crucial. Review the system’s wiring diagram in your HVAC manual to identify terminals like R, W, Y, G, and C. This understanding ensures compatibility and proper configuration of the Honeywell 6000 thermostat. Always refer to your system’s manual for specific details.

Installation Process
The Honeywell 6000 thermostat installation involves preparing the site, installing the wall plate, wiring the system, and mounting the thermostat. Ensure all steps are followed carefully.
Preparing the Installation Site
Before installing the Honeywell 6000 thermostat, ensure the area is clear and clean. Turn off the power to the HVAC system at the circuit breaker or fuse box. Verify the power is off using a voltage tester. Remove the old thermostat and any debris from the wall. Inspect the wires for damage or corrosion and repair if necessary. Clean the wall surface to ensure proper adhesion of the new wall plate. Gather all tools and materials, including the Honeywell 6000 thermostat, wall plate, screws, and wiring labels. This preparation ensures a smooth and safe installation process.
Wall Plate Installation
Begin by attaching the wall plate to the installation site. Align the plate with the marks made during preparation and secure it using the provided screws. Ensure the plate is level for proper thermostat mounting. If necessary, use wall anchors to prevent screws from loosening over time. Tighten the screws firmly but avoid overtightening. Once the wall plate is in place, connect the wires to their respective terminals as indicated in the manual. Double-check all connections for accuracy. Finally, ensure the wall plate is snug against the wall to provide a stable base for the thermostat.
Wiring Conventional Systems
For conventional systems, identify the terminals on the wall plate and thermostat. Connect the R (24V power) wire to the R terminal. The Rh wire connects to the heating system’s power, while Rc connects to the cooling system’s power. The W wire links to the heating stage, and Y connects to the cooling stage. G controls the fan, and C is the common wire, essential for proper operation. Ensure all connections are secure and match the system’s configuration. If your system has multiple stages, connect W2 for the second heating stage. Always refer to the manual for specific terminal designations and verify connections before proceeding.
Wiring Heat Pump Systems
For heat pump systems, connect the R wire to the 24V power source. The Rh wire connects to the heating system’s power, while Rc connects to the cooling system’s power. The Y wire links to the cooling stage, and O/B connects to the heat pump’s reversing valve. The W1 wire is for the first stage of heating, and W2 connects to the second stage if applicable. The G wire controls the fan operation. Ensure the C wire is connected to the common terminal for proper system operation. Verify all connections match your heat pump configuration and refer to the manual for specific terminal designations. Double-check all wiring before powering up the system to ensure safe and correct operation.
Mounting the Thermostat
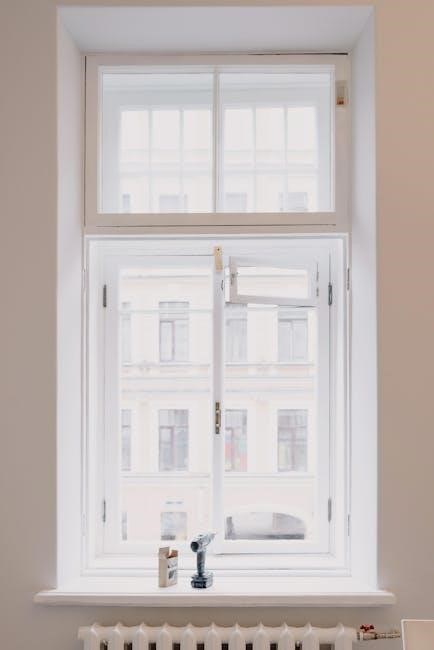
Mount the Honeywell 6000 thermostat on an interior wall at a height of 52-60 inches for optimal temperature sensing. Use the provided wall plate and screws, ensuring the surface is level and clear of obstructions like vents or direct sunlight. Drill pilot holes if necessary, especially for drywall or masonry, to secure the mounting plate. Align the thermostat with the wall plate and gently snap it into place. Ensure the device is level using a bubble level tool for accurate operation. Connect the wires to the appropriate terminals as per the manual, and verify all connections are secure. Finally, turn the power back on and test the thermostat’s functionality to confirm proper installation.
Installer Setup and Configuration
Configure the Honeywell 6000 thermostat by pressing and holding the “Menu” and “Fan” buttons to access setup options. Match settings to your HVAC system type, such as heat pump or conventional, and customize features like temperature limits and fan operation. Refer to the manual for specific instructions to ensure proper system compatibility and optimal performance.
Initial Setup and Configuration
Press and hold the “Menu” and “Fan” buttons to access the setup menu. Navigate through options to select your HVAC system type, such as conventional or heat pump. Configure temperature limits, fan operation, and other features to match your system requirements. Use the arrow keys to adjust settings and save changes. Ensure the thermostat is properly paired with your heating and cooling equipment for accurate control. Refer to the manual for detailed instructions on initializing the thermostat and customizing its operation to optimize performance and energy efficiency. Proper initial setup ensures seamless integration with your home’s climate control system.
Customizing Features and Settings
After initial setup, customize the Honeywell 6000 thermostat to suit your preferences. Program schedules for heating and cooling, adjusting temperature settings for different times of the day. Enable smart home integration to control the thermostat remotely via your smartphone or voice assistant. Adjust temperature limits to prevent extreme settings and optimize energy usage. Customize fan operation for continuous or periodic runtime. Explore advanced features like geofencing and energy reports to further tailor your system. These settings ensure your HVAC system operates efficiently while maintaining comfort. Refer to the manual for detailed guidance on unlocking all customization options for enhanced performance and convenience.
Post-Installation Steps
After installation, test the system to ensure proper operation, check for any issues, and make necessary adjustments. Review settings for optimal performance and energy efficiency.
Testing the System
After installation, test the Honeywell 6000 thermostat by checking its response to temperature adjustments. Verify heating and cooling cycles function correctly; Ensure programmable scheduling and smart features operate as configured. Test smart home integration if applicable. Review system performance to confirm energy efficiency and comfort settings. If issues arise, consult the manual or contact Honeywell support for assistance. Proper testing ensures optimal functionality and identifies potential adjustments needed for seamless operation.
Final Checks and Adjustments
After testing, perform final checks to ensure the Honeywell 6000 thermostat operates smoothly. Verify all wiring connections are secure and correct. Review programmed schedules and settings for accuracy. Check battery levels if applicable and ensure the display is clear. Adjust temperature setpoints or system parameters as needed for optimal comfort and efficiency. Ensure smart home integrations are fully connected and functional. Finally, confirm that all safety features and alerts are enabled. These steps ensure the thermostat is ready for daily use and provides reliable performance, meeting your home’s climate control needs effectively.

Advanced Features and Programming
The Honeywell 6000 thermostat offers advanced features like programmable scheduling and smart home integration, enabling energy-efficient temperature control and enhanced comfort with customizable settings.
Programmable Scheduling
The Honeywell 6000 thermostat allows for programmable scheduling, enabling users to set temperature preferences for different times of the day. This feature is designed to enhance energy efficiency and comfort by automatically adjusting temperatures when the home is unoccupied or during sleep hours. Users can customize schedules based on their daily routines, ensuring optimal heating and cooling. The programmable function is typically set up during the initial configuration process and can be adjusted as needed. This feature is particularly beneficial for homeowners seeking to reduce energy consumption and lower utility bills while maintaining a consistent indoor climate. Proper setup ensures seamless operation and maximized energy savings.
Smart Home Integration
The Honeywell 6000 thermostat supports smart home integration, enabling seamless connectivity with various smart devices and systems. This feature allows users to control their thermostat remotely through smartphones or voice assistants like Alexa. By integrating with platforms such as Samsung SmartThings, the thermostat can be managed alongside other smart devices for a unified home automation experience. Smart home integration enhances convenience, offering remote temperature adjustments and energy usage monitoring. This feature is particularly useful for modern households seeking to optimize comfort and efficiency. Proper setup during installation ensures compatibility and smooth operation with existing smart home systems, as detailed in the installation manual.

Troubleshooting and Maintenance
Regular maintenance and troubleshooting ensure optimal performance. Common issues include faulty wiring or sensor malfunctions. Refer to the manual for diagnostic steps and solutions.
Common Issues and Solutions
Common issues with the Honeywell 6000 thermostat include a blank or unresponsive screen, incorrect temperature readings, or system malfunction. Solutions often involve checking battery levels, ensuring proper wiring connections, or recalibrating sensors. For display problems, resetting the thermostat by removing batteries or power can resolve the issue. Temperature inaccuracies may require adjusting the sensor calibration in the settings menu. If the system fails to activate, verify wiring connections and ensure the thermostat is properly configured for your HVAC system type. Refer to the manual for specific troubleshooting steps, and consult a professional if issues persist.
Maintenance Tips for Optimal Performance
Regular maintenance ensures the Honeywell 6000 thermostat operates efficiently. Replace batteries annually or as needed to prevent display issues. Clean the thermostat screen and sensors with a soft cloth to avoid dust buildup. Check wiring connections periodically to ensure they are secure and undamaged. Calibrate the temperature sensor if readings are inaccurate. Update firmware if available to access new features and improvements. Schedule professional HVAC system maintenance annually to ensure compatibility with your thermostat. Proper care extends the lifespan and performance of your Honeywell 6000 thermostat, maintaining reliable home comfort control.